Setup New E-mail Account -Windows Live Mail 2012
This document will show you how to configure Outlook 2013 to be able to send and receive your e-mail.
- Open Windows Live Mail by clicking Start, All Programs, Windows Live, Windows Live Mail
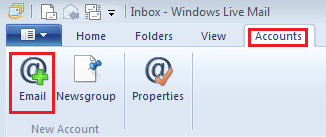
- If this is the first time you have started the program, the mail setup wizard will automatically start. Otherwise, click the Accounts tab and then click the Email button on the left as shown in the picture below.
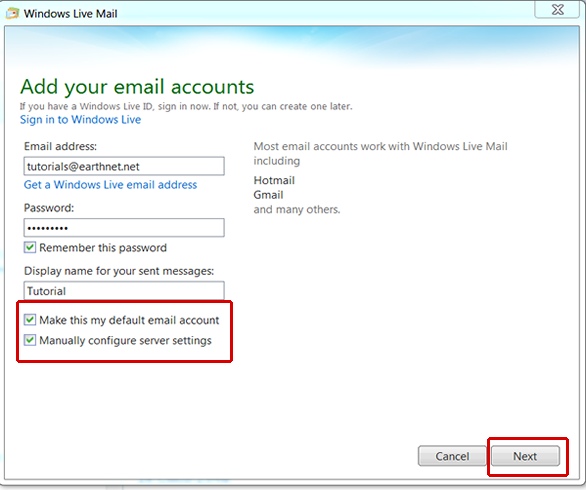
- Enter your Earthnet email address (e.g., tutorials@earthnet.net) in the Email address field, and the password in the Password field.
- Verify that the Remember this password check box is checked.
- Enter your name as you would like it to be displayed on sent mail in the Display Name field.
- Check the check box Manually configure server settings as shown marked by the red rectangle, and click Next.
- Select 'POP or IMAP' from the dropdown
- Under Incoming Server Information
- Authenticate Using should be set to Clear Text
- Outgoing mail server box: type in smtp.earthnet.net
- Under the Outgoing Server Address only, the port should be changed from 25 to 80. The default port set by the email program for the Incoming Server is fine.
- Make sure Requires Authentication box is checked under the Outgoing server address
- Make sure you typed everything correctly (for example, make sure you did not type smpt instead of smtp)
- Click Next and then Finish
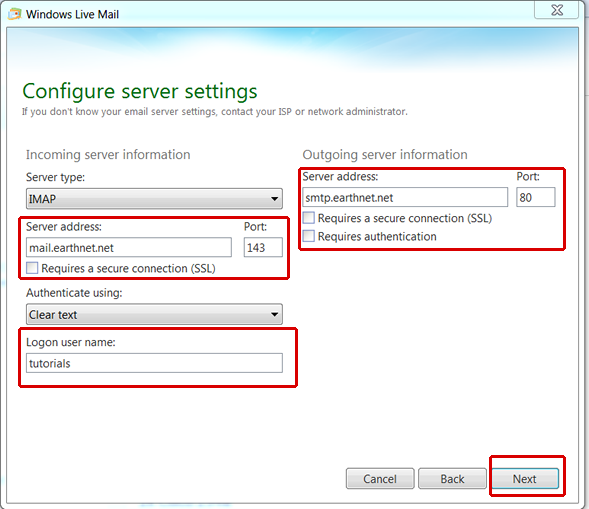
Account type drop-down box: select IMAP
Server Address mail.earthnet.net